


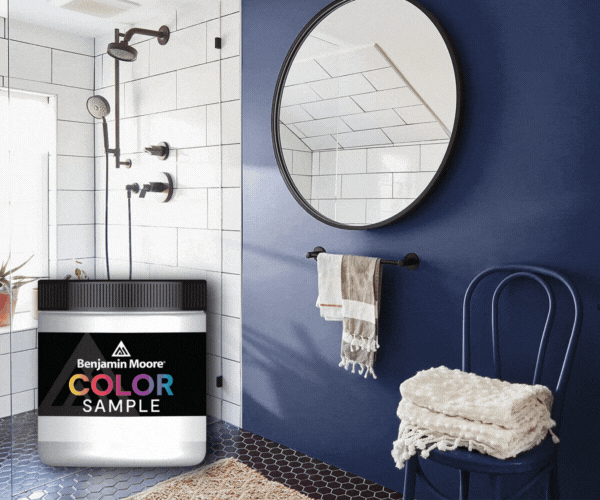


A Complete Guide on How to Clean Walls Before Painting
Unlock the secret to flawless paintwork with our essential tips on how to clean walls before painting. Clear instructions and expert advice await to ensure your walls are pristine and paint-ready for a stunning, long-lasting finish.
Key Takeaways
- Essential cleaning tools include microfiber cloths, a pair of buckets, mild detergent, and safety gear like gloves.
- Begin with a dry dusting starting from the top and protect the floors. This ensures walls are free from dust before washing.
- Use a damp sponge with a gentle cleaning solution for washing walls, tackling stubborn stains with baking soda or vinegar, then rinse and dry thoroughly before painting.
Gathering Your Wall Cleaning Arsenal
Starting any successful project requires assembling the right tools, especially when it comes to washing walls before painting. Microfiber or lint-free cloths are a must-have in your wall cleaning arsenal. They’re perfect for cleaning walls effectively without leaving any residue. Another essential tool is a pair of buckets. One will hold your cleaning solution, while the other will have rinse water. This practice is useful for avoiding cross-contamination while cleaning.
But what’s the best cleaning solution to prep walls for painting? Professional painters often prefer a simple mixture of mild detergent and warm water, and it works wonders for most walls. A solution of warm water and mild dish soap can erase stubborn greasy spots on your kitchen walls.
If you’re more inclined towards non-chemical cleaning solutions, you’re in luck. Distilled white vinegar or baking soda can serve as excellent DIY alternatives for wall preparation. And let’s not forget about safety. When washing walls, be sure to protect your hands and arms from irritation by wearing rubber gloves throughout the wall cleaning process.
The Initial Sweep: Removing Loose Dust and Debris
The initial sweep sets the stage for the cleaning process. This involves removing loose dust and debris from your walls and is a crucial step in prepping your walls for painting. But before you start, remember to protect your floors by covering them with tarps or old blankets. This practice aids in collecting any falling dust or debris during cleaning.
Next, choose the right dusting tool. A soft broom, a brush tied with a microfiber cloth around a long-handled sweeper, or even a vacuum with brush attachments can be perfect for this job. The key here is to start from the top and work your way down the wall. This method ensures efficient removal of all dust and cobwebs.
Remember, during this initial dusting phase, it’s best to avoid using water or cleaning solutions. This step avoids the risk of dust sticking to the wall or unnecessary moisture complicating further cleaning stages.
The Washing Phase: Techniques for Effective Wall Cleaning
After addressing the dust and debris, proceed to deep clean the walls. This marks the commencement of the actual wall-washing phase. An effective technique used by many professional painters to wash walls is to use a slightly wet sponge with warm water and a residual cleaning agent, such as dish soap. This method is highly effective for general wall cleaning.

For a consistent clean, start from the bottom, working in small areas with a nonabrasive sponge or fine grit sandpaper to remove any loose paint. This technique, recommended by major paint manufacturers, also helps avoid streaking. Always remember to avoid soaking the surface to reduce the risk of streaks or paint damage.
For larger areas or varied surface types, a spray bottle to mist the walls with water and a damp sponge or damp cloth for wiping can prove to be effective.
Tackling Stubborn Stains
Each wall has a tale to tell, often marked by stubborn stains. Don’t fret, we’ve got solutions! For those stubborn stains, a DIY cleaning solution can be prepared using either baking soda, trisodium phosphate (TSP), or a combination of liquid dish soap, warm water, and white vinegar.
Baking soda mixed with warm water can create a paste that effectively scrubs away wall stains, including marks such as fingerprints and smudges. If baking soda alone doesn’t do the trick, a homemade solution of dish soap, warm water, and vinegar can enhance stain removal, especially if allowed to sit on the stain for up to 10 minutes before blotting. For those really tough stains, melamine sponges can provide a physical aid in the stain removal process.
Rinsing It Right
Rinsing follows the washing of walls as the next essential step. This process helps remove any residual cleaning agents that might affect the adhesion of the new paint. To ensure no residue is left on the walls, rinse off the cleaning solution with clean hot water and a clean sponge.
Address any streaks by rinsing with a fresh cloth or disposable cloth pad, and remember to change the clean water in each new room. This step ensures that your walls are properly cleaned and ready for the next phase.
Drying Out: Ensuring Walls Are Ready for Paint
With clean walls and stain-free surfaces, you can now move on to the drying phase. This is a crucial part of preparing walls for painting as it prevents issues like blistering and peeling paint.
To hasten the interior walls drying process, improve airflow by keeping doors and windows open. You can also use fans or air conditioners to speed up the process.
Bear in mind that your walls must be completely dry before you start painting. Using clean, soft towels or a dry microfiber cloth to dab and remove excess moisture can prevent water damage and ensure the wall surface is ready for painting.
Summary
In summary, prepping your walls before painting involves more than just a quick dust-off. It’s a detailed process that includes gathering the right wall cleaning arsenal, conducting an initial sweep, washing the walls, tackling stubborn stains, rinsing, and finally, drying out the walls.
But remember, every effort you put into this process is worth it. Properly cleaned and prepped walls not only ensure a smoother, more vibrant finish but also extend the life of your paint job. So, roll up your sleeves, gather your tools, and let’s get those walls ready for a splash of new color!